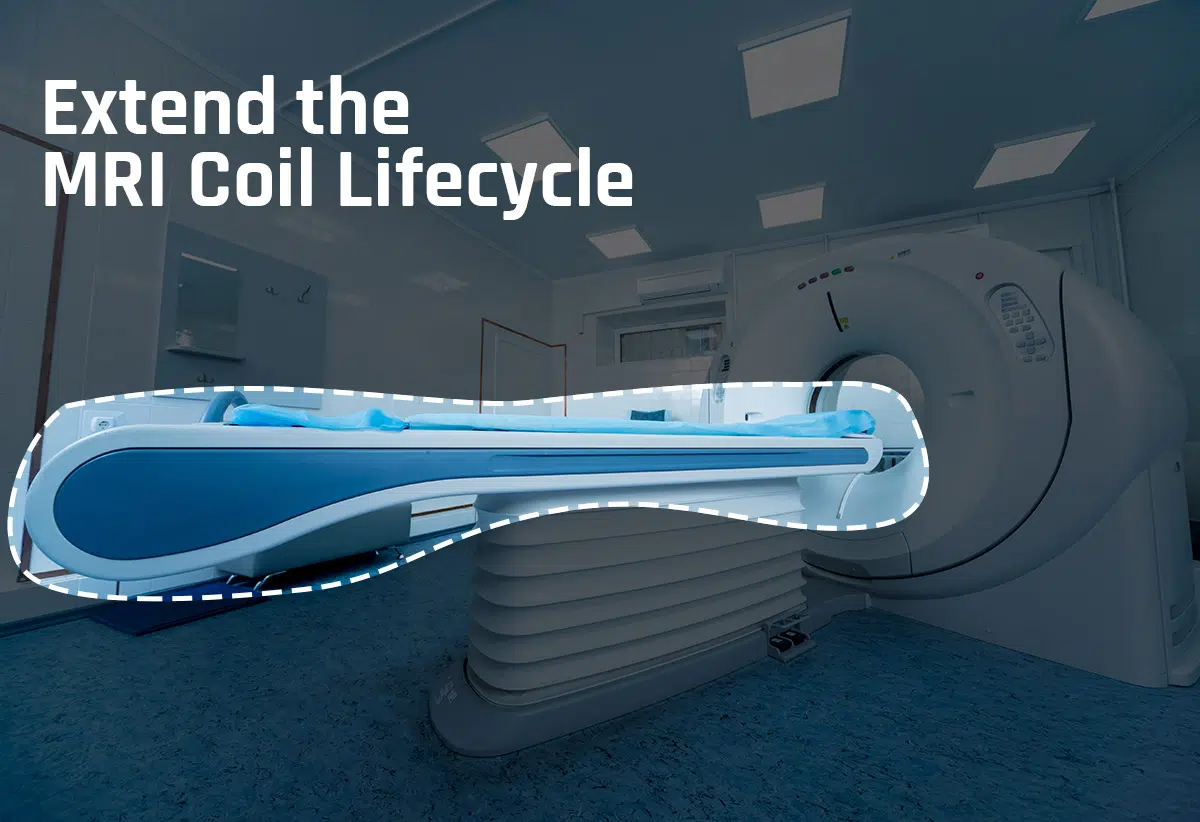
How to Extend the MRI Coil Lifecycle for MRI Machine?

By | Date posted: | Last updated: May 31, 2023
MRI Coil Failures

MRI coil failures are a freaking nightmare for a healthcare facility. If a facility deals with one and doesn’t have another at backup, the business stops leaving a lot of chaos to clear out. From cancelled procedures, rescheduling patient’s appointments to potentially delayed diagnosis and increased workload for your staff, the mess just never seems to end.

Moreover, the lost revenue digs your bank balance.

But, you can save yourself from all of it with just one thing. Sticking to steps that prevent these MRI coil failures to happen in the first place.

#Fact: Almost 25% of the recorded MRI coil failures occur in the first place due to coil cable.

Let’s examine each reason that causes MRI coil lifecycle failure.

Frequent usage

As it goes for any electronic device that frequent use can cause failure over time. It occurs due to the failure of the electronic components, connections failure, metal fatigue inflexible components, and others.

The main reason behind all these issues is the increase in focussed energy in the MRI coil.

Failure due to impact

Given the delicate nature of MRI coils, it requires the utmost attention to work with. Sometimes when the coil is handled roughly, they become more prone to failure. However, in some accidents, a coil is dropped.

Failures occurring after rough handling of MRI coils often result in mechanical issues. But, those dropped originate the chances of electrical failures that break the coil loops, damaged cables, coil failure, and shoulder joints, and damage connector pins.

Improper usage

MRI machines cost a fortune. Thus, they need to be operated on with utmost care. Frequent use of Used MRI machines for long periods causes the inevitable breakout of the parts. Also, over time as the MRI coil ages, the chances of failure elevate. From being brittle to broken connections, the failures can occur variously.

Many times, when the coil connectors are pulled out forcefully, the chances of failure accelerate. Train the operators to use the MRI coils with extreme care when they are disconnecting them from the surface coil of the scanner port. It is vital to do so as MRI coil connections can’t be repaired on-site, and you will only be welcoming a big dig in your bank balance.

When you try using a receive/ transmit coil along with a large body coil, the electronics in the coil can break down. It is due to the increase of focused energy from the body coil. This is one of the reasons that all the personal is operating the MRI machine should be thoroughly trained. Other shortcomings that can cause the MRI coils to fail are the design limitations in the MRI machine that revealed themselves over time.

It happens at times when MRI operators are in a hurry and remove the coil connector from the system connection port forcefully. It can result in expensive damage as the MRI coil connections cannot be repaired on-site as per the rule.

Now, let’s address some problems with their root cause so that you can hit the bull’s eye in one go and rectify them.

No scanning

An electrical problem is a reason why the MRI Scanner is not scanning the images. The most probable issues, in this case, occur in or are addressed as coil diode, data acquisition failure, no coil ID, no signal, shorted diode, or T/R driver fault.

Artifact

It directs in the direction of a localized problem with the image.  These problems can be defined as dark holes, ripple patterns, bright areas, shading, and others.

Homogeneity

This problem defines the distortion that is going to affect the whole image. Further poor uniformity, incomplete fat saturation are the words that define this problem well.

Noise

Intermittent problems with the image that is not present at all times can result in noise leading to MRI coil failures. Such problems are described as grainy, washed out, poor contrast, and low signal.

Mechanical

All the problems other than electrical ones are mechanical issues. These include cracks and broken components which further reside in connectors causing functional performance.

Let’s stick with prevention then looking for cure!

Appropriate usage of MRI coils ensures their longevity in their work course.

You need to check with your MRI Scanner provider if they offer MRI coil repair services. Many providers even offer an exchange option that is covered in the warranty or the service contract. The exchange option is the only choice once the damage has been done. An OEM engineer exchanges the damaged coil with a new one from the manufacturer’s inventory.

The damaged coils often find a place in OEM’s repair facility where they are repaired or refurbished after which they are given back to the OEM’s inventory. This method is an expensive one and assists in reducing downtime.

To check out for any other option to extend the MRI Coil lifecycle, you can always talk to an expert given the condition of your MRI coils. They will offer you the best possible options on the table.

We provide Pre-Owned and Refurbished MRI Scanners for Sale, get in touch with us to know more.

Share Button

Top Preparation Tips for X-Ray Machine Installation

By | Date posted: | Last updated: May 31, 2023
X-Ray Machine Installation

Just when you thought the daunting task of purchasing task of bringing a new X-Ray System for your healthcare facility was over, the notion of its installation may start haunting you. There are some crucial procedures or steps one needs to carry out before getting an X-ray machine installed.

Many newbies in the healthcare industry are not much aware of the procedure involved in X-ray machine installation. It’s not limited to just finding a quality dental X-Ray machine and placing it in a room. There are tons of factors that need to be taken care of before moving in any X-ray machine into a building.

The list includes sticking to regulations in your area, patient and tech safety, and more. The tasks mentioned in the list are not only time-consuming but also demand time, money, and expertise. But with the right approach, you can get started in no time.

So, aren’t you curious about all the points on the prepping list?

Well, sit back tight.

We are going to shed light on all the important aspects of how to prep for your X-ray machine installation.

Check with Your State Radiation Authority

The very first step to X-ray installation is to get in touch with your state’s health department. Check with them for X-ray radiation compliance before you begin building your X-ray room at your healthcare facility.

Once you discuss with them all the details, they will let you know if you are required to submit a preliminary drawing of your X-ray room before its construction.

Further shielding plan review is also required before you intend to begin the construction of the X-ray room. It depends on the x-ray equipment you have purchased to utilize at your facility.

Since every state has a different review process, you will need to provide details like

  • The type of facility you will be using it in
  • The purpose of the application,
  • Anticipated workload,
  • Type of X-ray machine being used
  • The location of the operator’s barriers in the X-ray room

and other important details.

You will also be required for the drawing of the rest of the healthcare facility building. It is required to check on the information about the adjacent areas or rooms. It is done to make sure that the x-ray room inhabiting the equipment is not installed right next to rooms or areas, where radiation susceptible patients are located.

Stick to state and local regulations

Every state has a different protocol regarding the construction of X-ray rooms and healthcare facilities. Some require led-lining walls while others do not require it for like mobile fluoroscopy equipment, like C-arms.

Stick to the code while building your healthcare facility building. Find out if your facility requires lead-lined walls. If yes, check for the thickness of the lead as it varies by state and machine type. Your physicist can assist you in the same by providing a lead shielding plan to your contractor.

Communicate with the provider

A vital step in setting up the X-ray equipment environment is by being in regular communication with your X-ray provider. They may not be physically involved in helping you prepare the X-ray room, but their equipment expertise and utmost knowledge will help you along the way.

X-ray providers in the marketplace provide complete assistance in the advanced stages of installation. The stage includes steps like planning consultation, inspection, sending detailed drawings, along with the discussion on the actual construction of the building with you and your contractor.

Moreover, by staying in communication with your X-ray machine provider, you can update them about the X-ray room progress. This way, the setup would be more likely to get wrapped up in a day or two.

Checklist

  • Decide on the design and construction team
  • Prepare your construction drawings in compliance with the codes
  • Review all the plans and get permits from the authorities
  • Meet and discuss the entire plan with the construction team
  • Offer verification to the X-ray machine provider that the construction site is ready
  • Make arrangements for system delivery and installation
  • Set up the X-ray system and get it calibrated
  • Schedule training for your team for the equipment and software

Embark your preparation

It is recommended that you ensure proper communication between all the parties i.e your team, contractors, local compliance agencies, and your X-ray machine provider. Not only will you be able to save time and hassle in all of it, but also a great amount of money during the process.

In case you feel it’s a lot on your plate to handle, get in touch with the experts who will sort this game for you. It’s better to take help than to do something wrong. So, start your preparations and enjoy a flourishing business at your facility.

We provide full line Pre-Owned and Refurbished of X-Ray Systems for sale. To get further information on availability, price, specification and condition, please feel free to email us at sales@kbdentalconsulting.com

Share Button

Ensure the health of your Siemens CT Scanner

By | Date posted: | Last updated: May 31, 2023
Siemens CT Scanner

CT Scanners are a crucial part of medical developments in the last 50 years. They are one of the real workhouses that require your utmost attention to keep them running till the end of their life cycle. To accomplish its fine working, it is necessary to maintain its health during its work course.

Talking about Siemens CT Scanners, dealing with its breakdown is the last thing one would like to deal with at their healthcare center. Be it the system downtime or the wear and tear of the machine, every little flaw needs to be given attention to ensure an uninterrupted workflow.

Maintain the optimum health of your Siemens CT Scanner!

Address intermittent issues attentively

Recurring errors or failures are a sign of complete breakdown or future system downtime. These problems may seem small in the initial period, but they keep on adding to invite big damage to your CT scanner.

Especially in the case of clinics that operate their system 5 to 7 days per week, it is important to schedule a maintenance session with an engineer. It is necessary to ensure that the system, when not in use, is not leading to an impending system failure.

Follow your preventative maintenance schedule

Be it from the manufacturer or your system engineer, you must have heard of some preventative maintenance tips required for your CT scanner. Since you have little knowledge about your system than the engineer, you may not be able to recognize the problem at first. This is why one needs to stick to preventative maintenance that eliminates the origination of any kind of error. The list of preventative maintenance of your CT scanner may include:

  • Image quality test
  • Greasing bearings
  • Checking connections
  • Cleaning the fans
  • Take a backup of your system data and others.

These steps will not only save your system from a sudden breakdown but will also ensure ideal uptime of the same.

Ensure a proper city suite environment

Maintaining an optimum room environment is a vital part to ensure the life of many parts of the Siemens CT scanner. It is recommended to keep the temperatures between 65 to 72° Fahrenheit. Failing to do so, many components can get damaged in the CT scanner.
Another atmospheric factor that needs to be closely monitored in the CT Suite is humidity. For humidity, it is recommended to keep the levels within 40 to 70% relative to non-condensing humidity. These levels need to be maintained in the CT suite strictly at all times even if your healthcare facility is on a holiday. To ensure the same, you can leverage of basic alarm system that activates when these levels are exceeded.

Routine inspections of the Siemens CT Scanner

One of the crucial steps of maintaining the good health of a CT system is its consistent inspection. From high-voltage, checking systems brushes and slip rings to low-voltage brushes and excessive wear on the data, every part needs to be counted in during this step.

For instance: The OEM recommends a gap of 8 mm of the brush between the tip of the brush to the arrow or maximum wear point. If the gap is less than 8 mm, replacement CT brushes should be ordered. Even while placing each brush, you should ensure that it is put back in the same orientation and spot while it was removed for inspection.

Talking about the slip rings in the CT scanner, you can physically feel the grooves, ridges, or bars around the circumference. These are the imperfections on the slip ring that decrease the life of the CT systems contact brushes.

There are many other components, such as water cooler pressure and others that need to be paid attention to at regular intervals. For a detailed insight into the same, get in touch with your system engineer.

Bonus tips

  • Do not let any dust or other contaminants get inside the CT scanner as it can cause issues in its working.
  • Check for the frequency of cooling delays in the Siemens CT scanner. it can be a sign of overheating in your system.
  • Keep a check on any technical glitches or if scans start aborting. These issues symbolize that there’s a problem with the x-ray system, tube, generator, or one of the boards.
  • Listen closely to the sounds that occur while your CT scanner is working. Any humming or scrapping sounds or a clear indication if there is any issue in the same.

Conclusion

Many times, even after regular preventative maintenance, professionals often fail to keep the CT scan machine up to the mark. In such a case, talking to an expert will help you get the right guidance and knowledge that you have been missing out on. This way you would be able to run a flourishing business without any issues interrupting your everyday workflow.

We provide full line of Pre-Owned and Refurbished CT Scanners for Sale/Rent, get in touch with us to know more.

Share Button

Top 7 tips for ultrasound equipment maintenance

By | Date posted: | Last updated: June 1, 2023
Ultrasound Equipment Maintenance

Is ultrasound equipment maintenance a matter of concern?

Well! Yes, if you want it to continuously perform superiorly and provide an accurate diagnosis for your patients. Not only the performance but to work efficiently till its end of life cycle, maintenance of the ultrasound equipment is as necessary as watering a plant for its growth.

So what are the tips that can help you ensure the longevity of your ultrasound machine?

Worry not! We have curated a perfect guide to which you can stick to in your everyday schedule. It will help you ensure that your Ultrasound machine is in good working shape.

Ultrasound Equipment Maintenance Tips

Start with the regular checkups every day

Before you start with the everyday examinations of your patients, Make sure that all the connections of the ultrasound machine are plugged in properly. Check for the ultrasound wiring, transducers as well as cables for any cut or frayed areas. If you find any, ensure that you replace them with any backup supplies instantly.

Full system backup

It is necessary to take a full backup of your system at regular intervals. It helps in reducing that downtime in case the system fails given to any software or hardware problems. You can completely recover your system by backing up network data in just few hours. On the contrary, without a full system, it could take up days for you to recover your system completely.

Regular service of your ultrasound equipment

Planned preventive ultrasound maintenance & cleaning by a professional service representative on a quarterly basis. Experienced professionals have the utmost knowledge about the system and can perform tests to check how your system is performing. They will clean the ultrasound machine inside and out and will ensure to return it to a great condition.

Given the present-day ultrasound machines in the market, many of them have become more sensitive to heat than ever. During maintenance, cleaning of filters, air passages, intake grills, and brackets is also considered in order to prevent future failures.

With regular service of your ultrasound system on the defined interval, you can take a sigh of relief that your machine is in good hands and has great uptime.

Give extra attention to the transducer

The transducer in an ultrasound machine is what the technician rubs on the patient or sometimes inserts into the patient’s orifice.  It is done to produce the image.

Since the transducer comes in contact with patients during diagnosis, it is important to keep it maintained and clean.

To ensure that the transducer is in top-notch condition, start by inspecting the pins on the pro connector. Lookout for any bent pins on the probe connector as they can damage another probe when they are plugged into the board. It can result in a cascade effect in the entire department has damaged crops move around those bending pins on other probes.

Also, keep a check on the cable connection to make sure that there are no cuts in the wire, frayed ends, or Exposed wires. If any one of these exists, there stands a chance of electrocution, which can harm the patient as well as the technician.

End your shift with the disinfection

Bodily fluids come in regular contact with an ultrasound machine. It is important to keep your machine disinfected before these fluids contaminate the machine. Use OEM-approved cleaners to wipe any fluid on the machine, especially for the user interface systems and monitor. These are the areas that technicians touch daily. So by disinfecting, you can eliminate any chance of contracting an infectious disease.

Once you wipe the machine all over, spray the disinfectant over a cloth and wipe every surface precisely. In case of any larger spill on the ultrasound machine, contact your service provider and have them clean the machine inside out.

Clean air filter to avoid overheating

Given the present-day models of the ultrasound equipment, overheating has been seen as one of the major issues leading to the breakdown of the machine. It occurs due to the dust in the fan, vents, and air filters. Start by Switching off the ultrasound machine before pulling out any of the filters. Move forward to checking and cleaning the air filters weekly or as directed by the manufacturer of the case on the machine.

If the air filters are dirty, clean them with soap and water or a vacuum cleaner. You can also refer to the ultrasound machine user manual to find out the professional way of cleaning them. Do keep A backup filter at your place that can be used when the dirty one isn’t dried out completely when you clean it with soap and water.

Bonus tips

  • Clean all the filters regularly
  • Check for power supply and system fans
  • Clean the CRT and test performance
  • Check and Replace the backup battery
  • Clean hard copy devices and transducers
  • Inspect probes for Wear or damage
  • Generate clear phantom images of the probe to check the accuracy of the respective markings
  • Check Eire logs, evaluate errors, run diagnostic tests, and clear logs
  • Verify complete system operation

You are all set for everyday care of your ultrasound equipment

With all these tips on your list, you can take care of your invaluable piece of medical imaging equipment. You can save the accident cost of your ultrasound equipment and save up in the long term. If any of these tips too much, you can also take assistance of the experts that know the inside out of the machine.

KB Consulting is providing a full line of ultrasound equipment for sale. Get the best price on pre-owned ultrasound systems from major brands. To get further information on availability, price, specification, and condition, please feel free to call us at +1 586 917 0245 or email us at sales@kbdentalconsulting.com.

Share Button